Stone pavement tile - Molding and Casting with sanitary silicone
There are plenty expensive materials for molding and casting which helps a lot for particular jobs no argue with that. But my goal was a simple mold for a simple tile that's why I give it a try to the most common material met in almost every home - sanitary silicone
The task was simple - make a stone pavement tile and multiply it; I need it for a medieval diorama - common theme for dioramas.
I knew the silicone will be hard to handle since there's no thinner easy to find but still I gave it a try:
- super glue
- lacquer (can be spray)
- brush (to lay a layer or two of plaster on the cardboard)
Ok, lets do this.....Draw the shape of the tile on the cardboard and then with the exacto knife cut it out. Glue the tile on another piece of cardboard and cover the piece(tile) with a mix of plaster powder, white glue and water (do some experiments before with the mixing, mine was: 1 part white glue, 3 parts plaster powder, 3 parts water). Now, once the plaster is completely dry (5 hours) scratch the model of the stones (brick pattern or cobblestones) the way you want. Cover the tile with a thin layer of superglue and after is dry spray it lacquer. One last thing before applying the silicone, brush some face cream on the tile and near the tile (this will block the silicone to stick on the plaster and cardboard). In the end should look like this:

Cover the tile (sides included) carefully with silicone:

Press with another piece of cardboard in order to force the silicone in the gaps between the bricks:

After 8 hours the silicone will harden and the cardboard and the master model may go away:

Pour the mix of plaster (same composition made earlier) into the mold and shake a little bit to clear out the bubbles(you want no bubbles in your tile:)):

Another 5 or 6 hours of waiting (depending of the room temperature, don't overheated unless you need some cracked tiles) and you should have this:

A few more minutes of reshaping and more scratching(this will make each tile unique) and that's it:

Brush the mold from small leftover particles and repeat the process. Have fun!


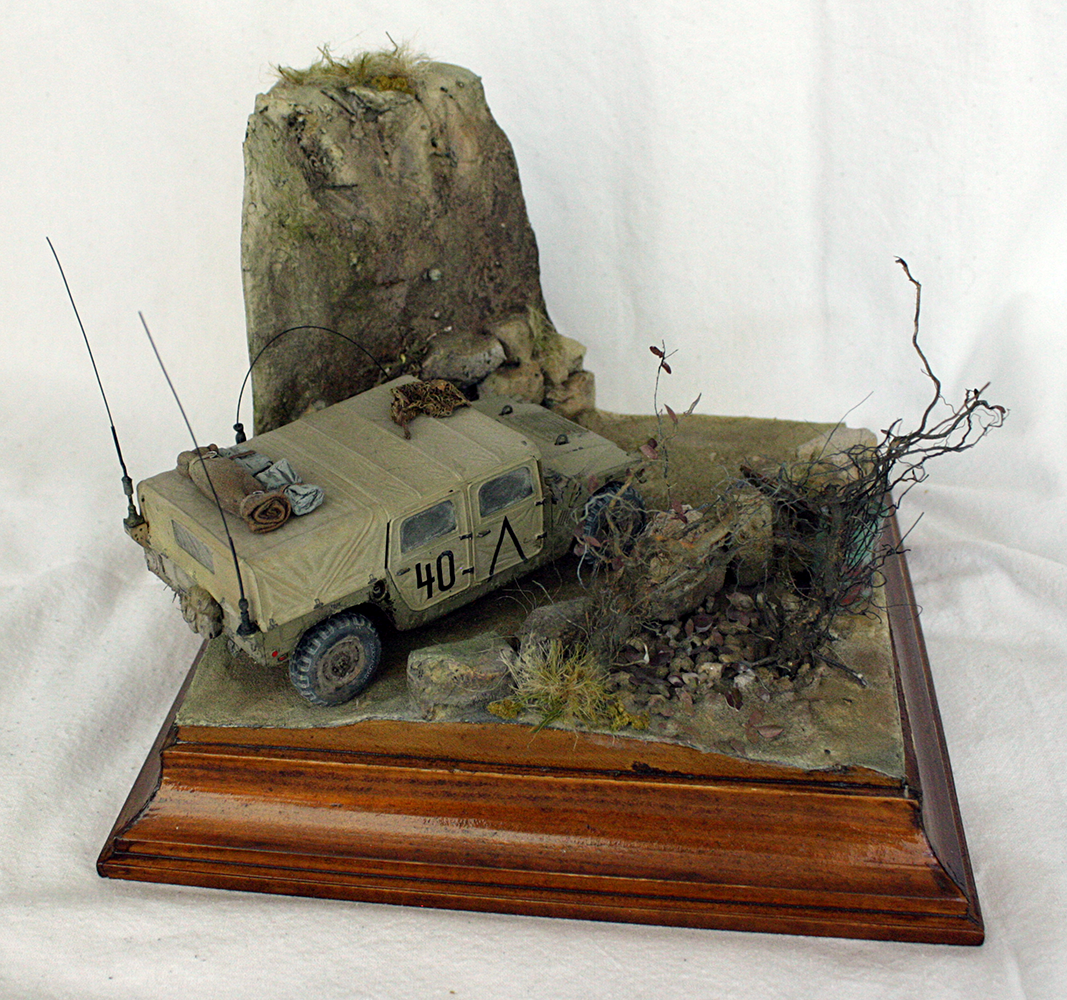


 Starting a few days ago I've been working on my girlfriend's Pixie Tree diorama. Because this is a work in progress project I will come back later with more detailled pictures...


